Difference between revisions of "V2/CMS Tutorial/User Interface"
From Senfi Docs
Elysia.Tan (talk | contribs) |
Elysia.Tan (talk | contribs) |
||
| Line 48: | Line 48: | ||
[[File:help.png|600px|center]] | [[File:help.png|600px|center]] | ||
| − | Clicking on the button highlighted in red | + | Clicking on the button highlighted in red will launch a pop-up help form (right) where you can fill in your contact details to receive help from the Senfi team. |
=== User Settings and Account === | === User Settings and Account === | ||
Revision as of 20:39, 18 June 2021
Contents
User Interface
The CMS User Interface (UI) can be split into 6 sections:
- Navigation
- Creation and Management of Data
- Data Display
- Filtering and Grouping Data
- Seeking Help
- User Settings and Account
Navigation
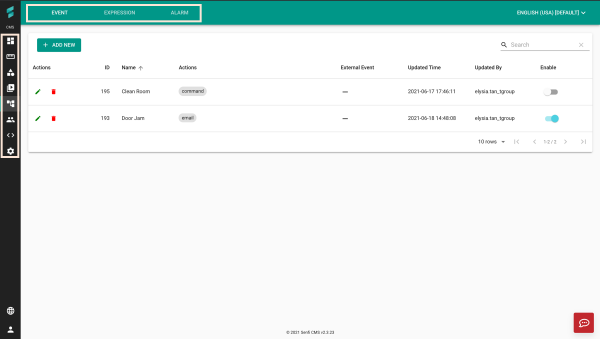
Left Panel (from Top to Bottom):
-
 Site is used to manage and view sites in the CMS.
 -
 Measurement is used to manage and view measurements in the CMS.
 -
 Asset is used to manage and view assets in the CMS.
 -
 Video is used to view the connected Video Adapters and their corresponding video stream.
 -
 Automation is used to manage and view events, expressions and alarms in the CMS.
 -
 User is used to manage and view users, roles and access groups in the CMS.
 -
 Developer is used to integrate, debug and inspect 3rd party systems.
 -
 Setting is used to set the organisation settings.
Note: Your options in the left panel vary depending on your access rights.
Top Panel: Options displayed vary depending on the function chosen in the left panel.
Creation and Management of Data
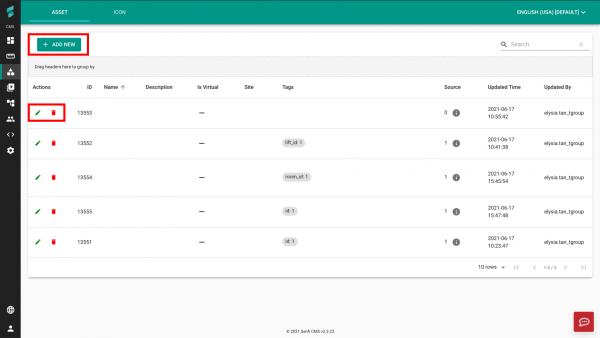
-
 Add is used to create data in the CMS.
 -
 Edit is used to edit data in the CMS.
 -
 Delete is used to delete data in the CMS.
Data Display
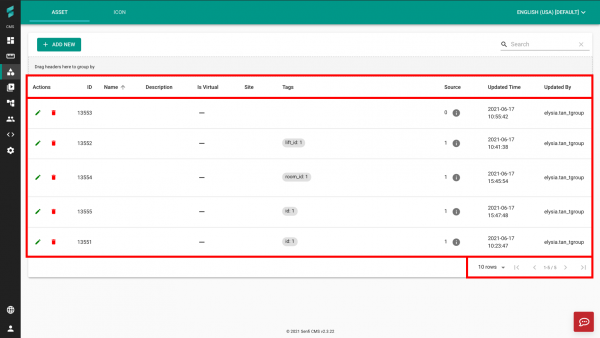
Data Section (from Top to Bottom):
- Headers
- Actual Data
- Toggle between data pages
Filtering and Grouping Data
Seeking Help
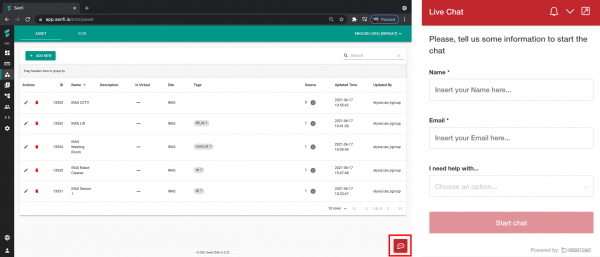
Clicking on the button highlighted in red will launch a pop-up help form (right) where you can fill in your contact details to receive help from the Senfi team.


